
Buy IPTV The Best IPTV Subscription
Buy IPTV and stream top shows, movies, and live sports in the UK & US anytime, anywhere | Buy IPTV Get All the Sports Channels.


Why should you choose us for IPTV?
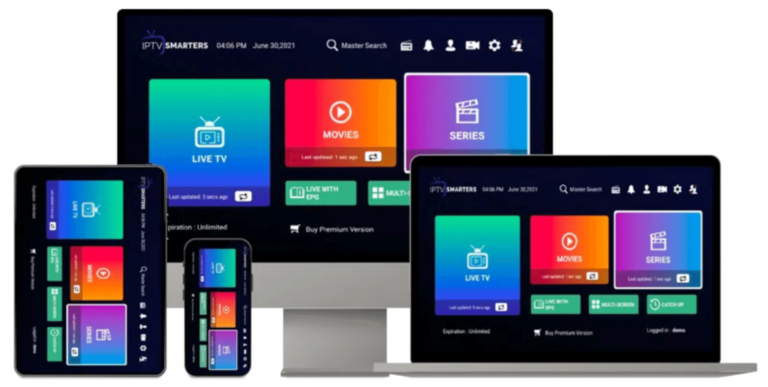
Buy iptv and stream top shows, movies, and live sports anywhere, anytime | Buy IPTV, uninterrupted content on all devices with Roomtvs.
Buy IPTV Get All the Sports Channels with Our Premium IPTV Subscription"
Buy iptv today for all your favorite sports channels in one place | Buy iptv and Stream live matches and exclusive events on any device with seamless, high-quality coverage worldwide.

Choose Your Plan
FREE TRIAL
-
+28.000 Live Channels
-
+145.000 Movies & VODS
-
TV Guide (EPG)
-
4K/FHD/HD/SD Quality
-
24/7 customer support.
3 Months
-
+28.000 Live Channels
-
+145.000 Movies & VODS
-
TV Guide (EPG)
-
4K/FHD/HD/SD Quality
-
24/7 customer support.
6 Months
-
+28.000 Live Channels
-
+145.000 Movies & VODS
-
TV Guide (EPG)
-
4K/FHD/HD/SD Quality
-
24/7 customer support.
12 Months
-
+28.000 Live Channels
-
+145.000 Movies & VODS
-
TV Guide (EPG)
-
4K/FHD/HD/SD Quality
-
24/7 customer support.
How does it work?
Place your order
Place your order by choosing your preferred subscription period
Get your account
This process can take 5 to 15 minutes.To speed up the process, please contact us via Whatsapp.
Enjoy your time
Enjoy all channels, films and series now!
Buy IPTV, Access a Wide Range of Channels with Our Premium Service
Buy iptv today and enjoy thousands of live TV channels, including sports, movies, kids’ shows, and more | Buy iptv and Stream seamlessly on any device with high-quality performance and reliability.

Buy IPTV for the Best Streaming Quality No Buffering
Buy iptv today for the best streaming quality | Buy iptv and Enjoy crystal-clear HD content with no buffering or interruptions for movies, sports, and live TV on any device.


Buy IPTV for Kids | Movies, Series, and Language Learning Channels
Buy iptv and enjoy a wide range of children’s channels, including movies, series, and educational content for language learning | Buy iptv, Roomtvs offers premium IPTV streaming for the whole family.


Frequently Asked Questions (FAQ)
IPTV (Internet Protocol Television) is a modern way to stream live TV channels and on-demand content via the internet. Unlike traditional satellite or cable, IPTV delivers TV programming through a high-speed internet connection, offering flexibility, better picture quality, and access to a wide variety of content worldwide. Discover how IPTV can enhance your viewing experience and explore different subscription options today.
Our IPTV services are accessible via all smart TV devices (Samsung, Sony, LG…), all Android devices (phones), Apple TV, iPhone, Google Chromecast, MAG box in the STB emulator app and FireStick.
Netherlands Belgium France UK Germany Switzerland Austria Poland Spain Malta Portugal Italy USA Canada Australia New Zealand Arabic India Pakistan Iran Turkey Azerbaycan Kurdistan Africa Afghanistan Armenia Exyu Slovenia Albania Greece Latino Brazil Caribbean Suriname Sweden Denmark Norway Finland Czech Bulgaria Romania Hungary Russia Georgia/Kazakh Ukraine Lithuania Latvia Estonia China/HK Malaysia Philippines Indonesia Korea Thailand Taiwan Vietnam
You may install your account on multiple devices, but keep in mind that it works on 1 at a time.
If you have any questions, feel free to ask our 24 hour chat support.
Online Support
You still have a question? Send a message